Building a Suspension Bridge out of Cardboard and String with Your Kids
This project is a fun, hands-on way to learn more about bridges! Your kids can use many different materials to create their bridges. Here is a step-by-step example of one we made at home recently. Encourage your kids to play around with different materials, bridge spans, and configurations. Have fun trying different designs!
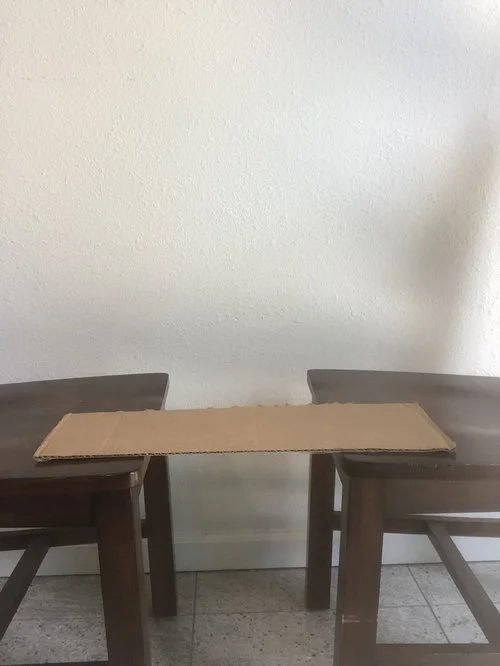
An Example:


Conclusion
We had an unexpected challenge that our bridge was a little too strong! We could not get it to “fail” until after we cut the cables. If we were to try it again with different materials, I might try a deck made of paper instead of cardboard. Also, keep in mind that the deck may be weaker with time, as once the cardboard or paper bends, it may bend more easily if you reuse it in another configuration.
Try it yourself! Remember to be flexible and be quick to change things around and see what happens. Keep yourselves in an experimental mindset.
Troubleshooting
Bridge failing too quickly?
Make sure you anchor it well.
Try a stronger deck.
Put desks or chairs closer together.
Bridge too strong?
Use a weaker deck (example: paper instead of cardboard)
Try anchoring the cables and not the deck.
Move the desks or chairs farther apart.
Need a Full Lesson Plan?
Check out our resource: Building Suspension Bridges or grab the whole bundle: Engineering Design Process Lessons.
Best of luck and have fun!